Settings - User Guide
This guide explains all personal and organizational settings in SGI. On the left sidebar menu, click "Configuracoes" (Settings).
The screen has 6 tabs (desktop) or cards (mobile). The Integrations tab only appears for super administrators.
1. Profile
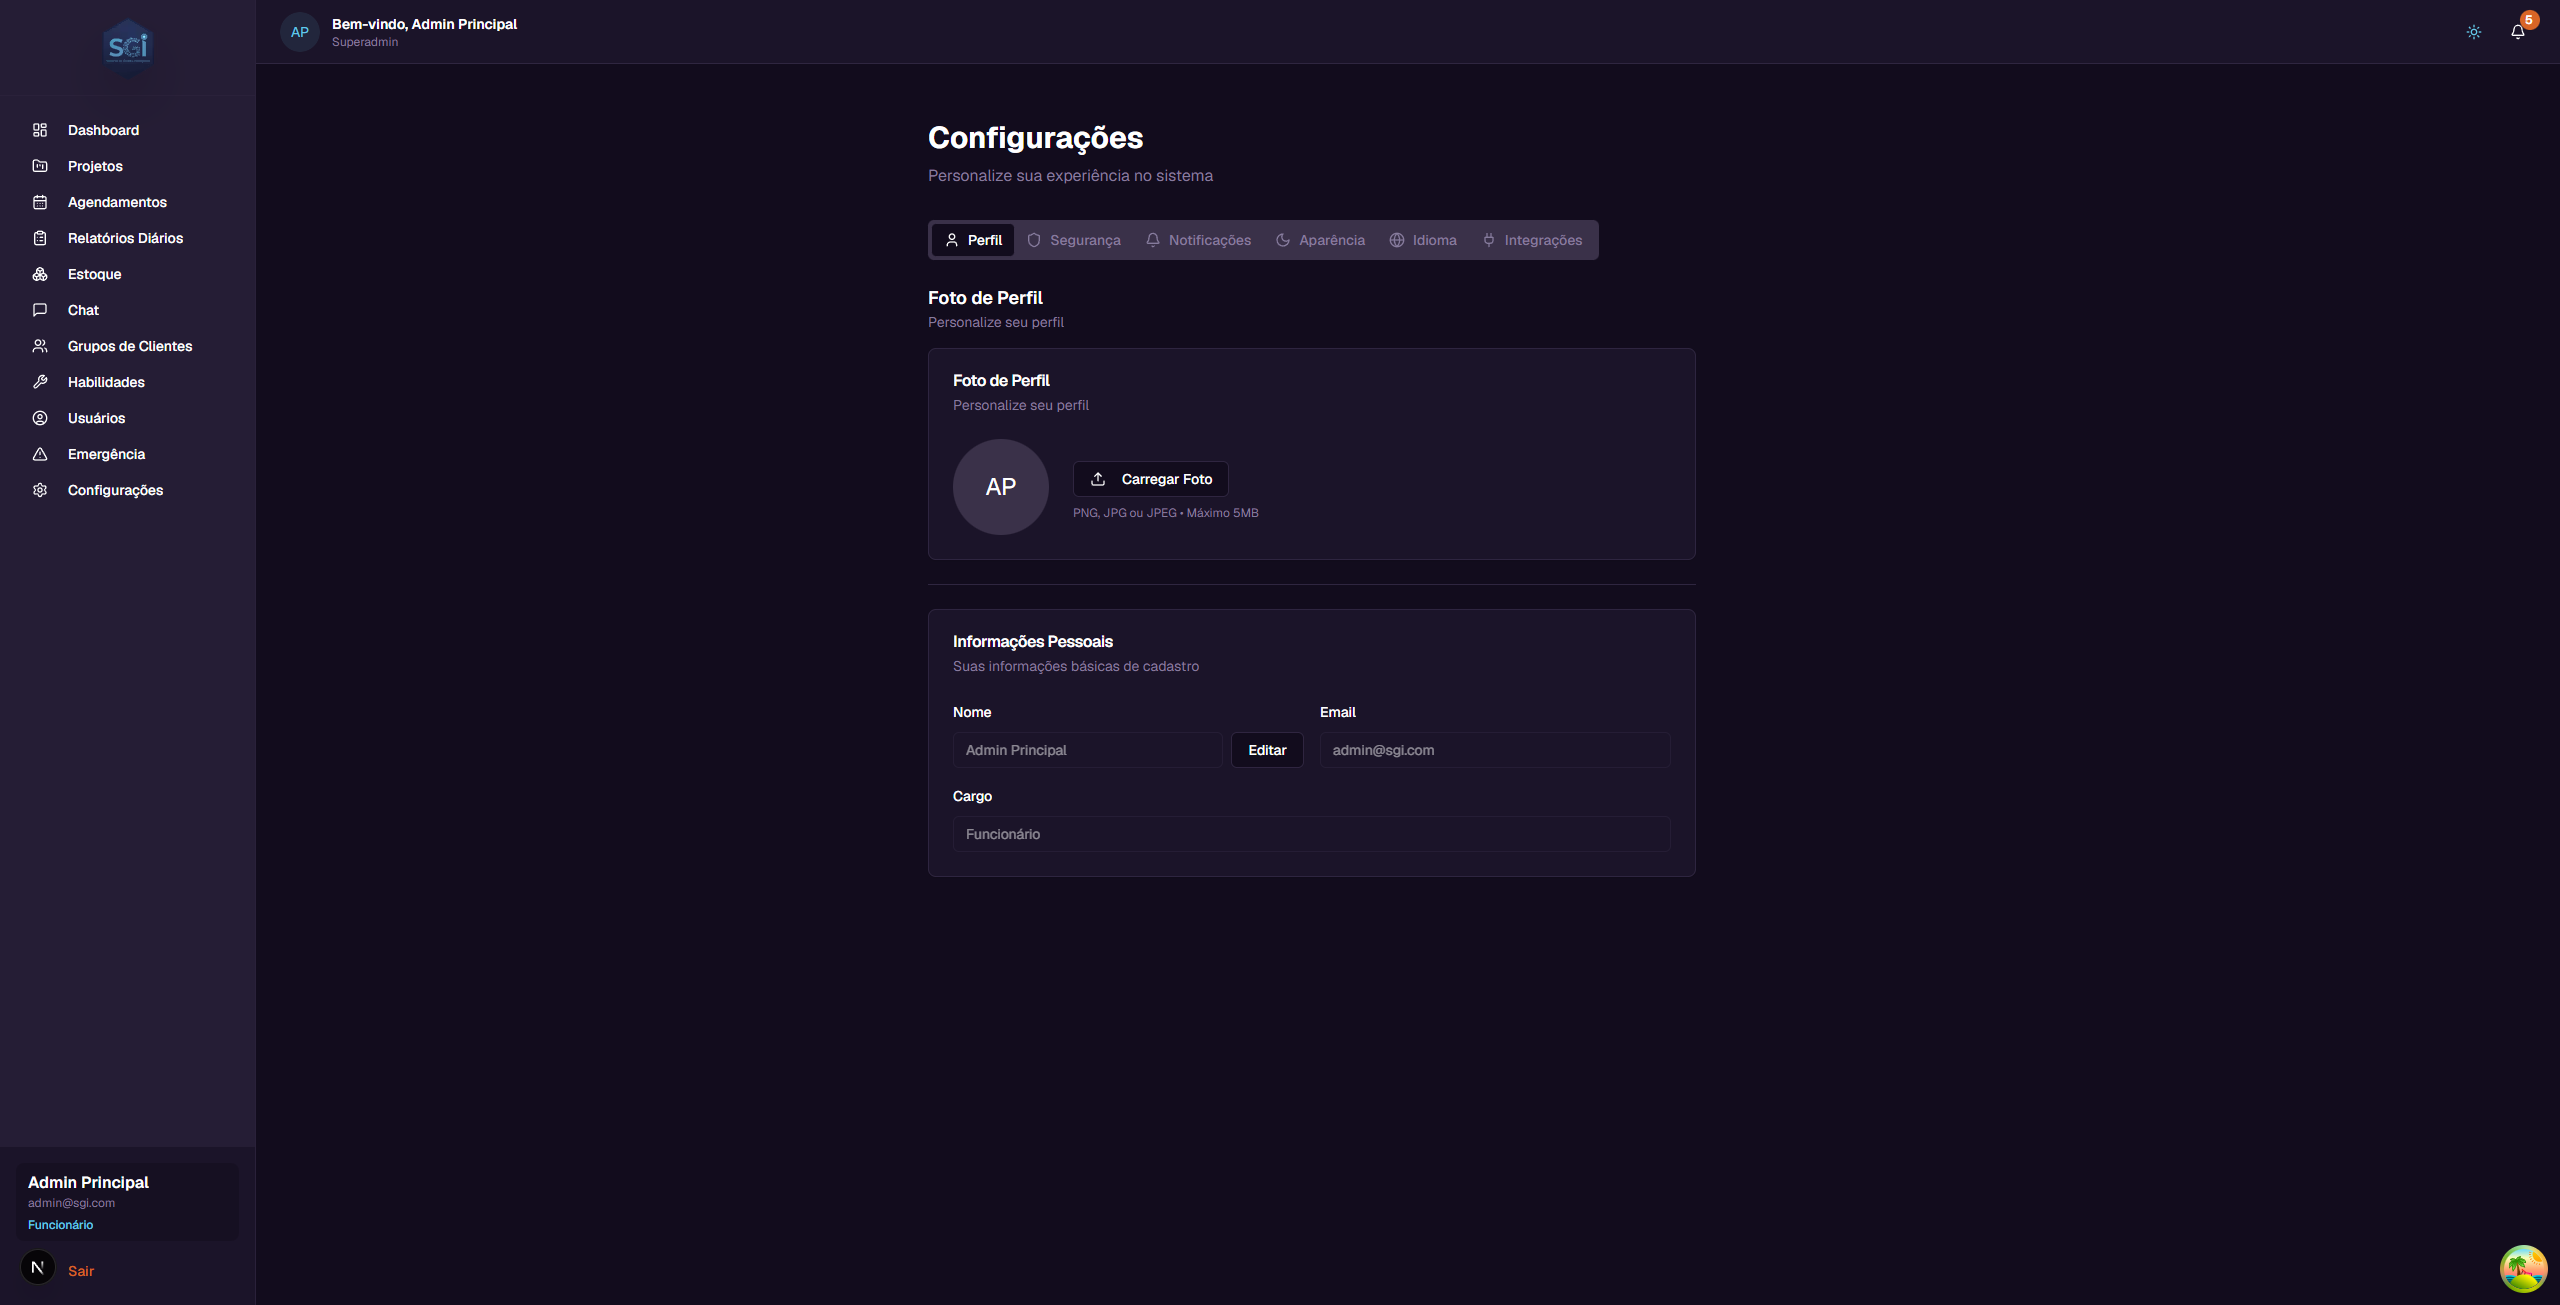
Allows you to edit your personal information.
Profile Picture
- Avatar - Displays your name initials until you upload a photo
- Upload Photo - Click to upload (PNG, JPG, or JPEG, maximum 5MB)
Personal Information
| Field | Editable? | Description |
|---|---|---|
| Name | Yes | Click "Editar" (Edit) next to the field |
| No | Email is immutable after registration (security) | |
| Role | No | Read-only (only super admin can change roles) |
Email cannot be changed
For security, the user's email is immutable after the invitation is accepted. If you need to change the email, the super admin needs to deactivate the user and send a new invitation.
2. Security
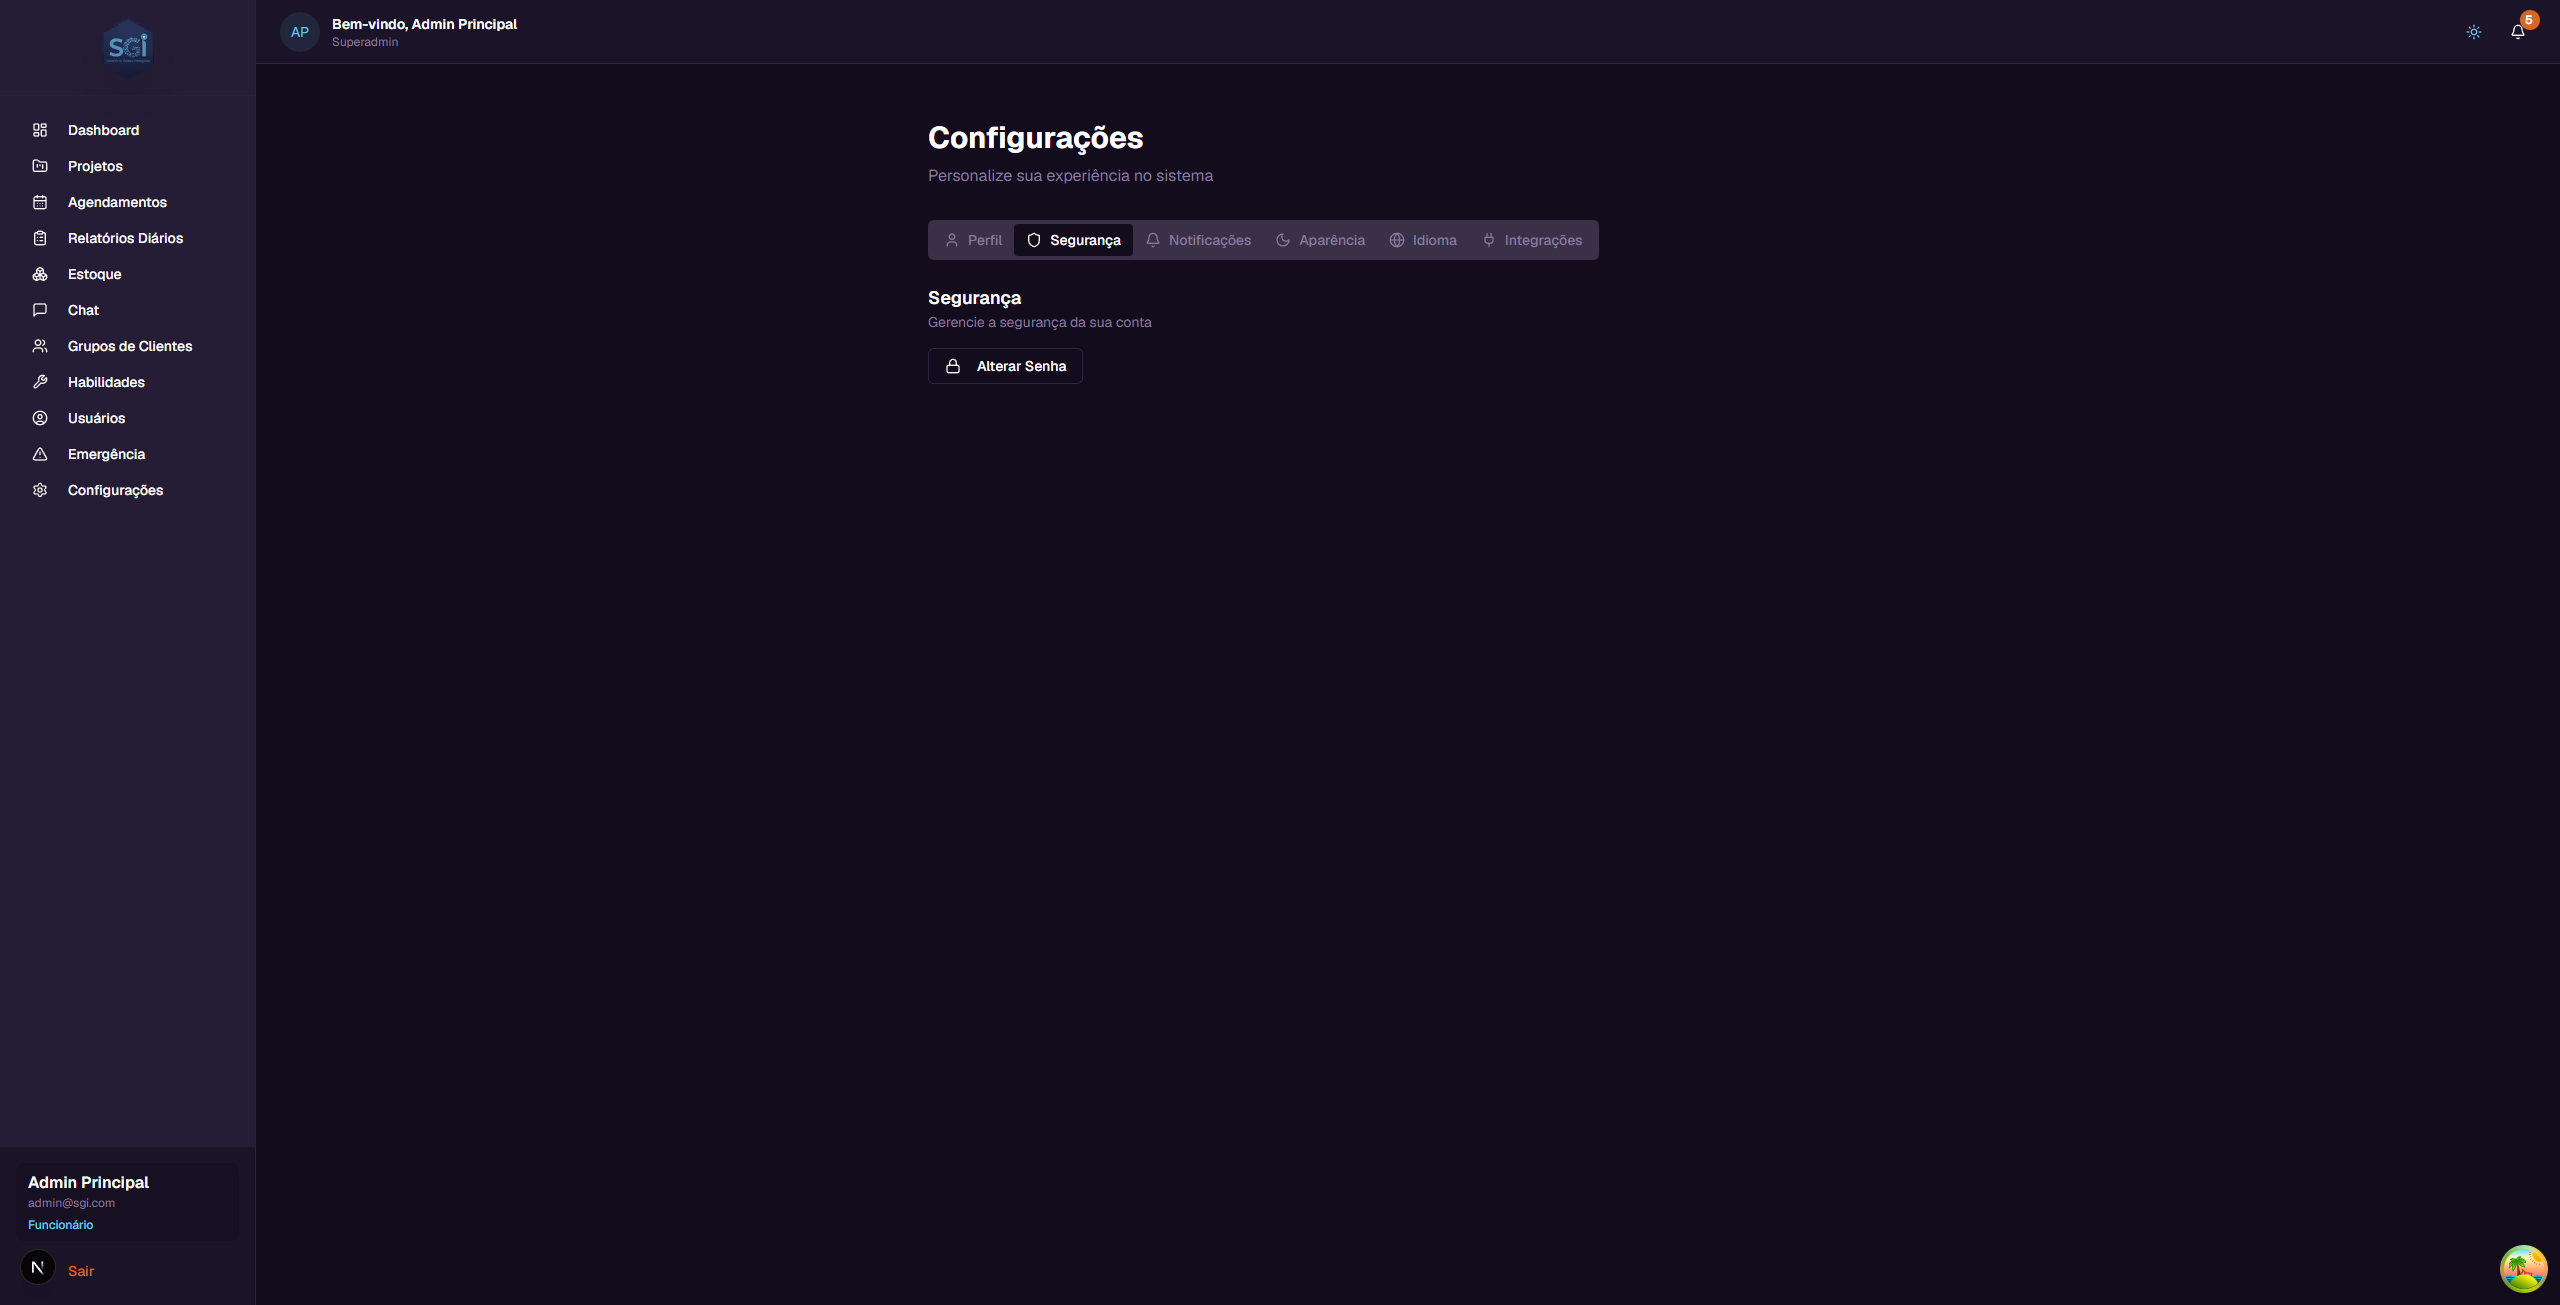
Allows you to change your password.
How to change your password
- Click "Alterar Senha" (Change Password)
- Fill in the 3 fields:
- Current password
- New password (minimum 6 characters)
- Confirm new password
- Click "Alterar Senha" (Change Password)
Password requirements
- Minimum: 6 characters
- No complexity required (uppercase, number, symbol are not required)
- Reuse: there is no block on using an old password
- It is strongly recommended to use a strong password even if the system does not require it
Show/hide password
Use the eye icon next to the fields to show/hide the password while typing.
3. Notifications
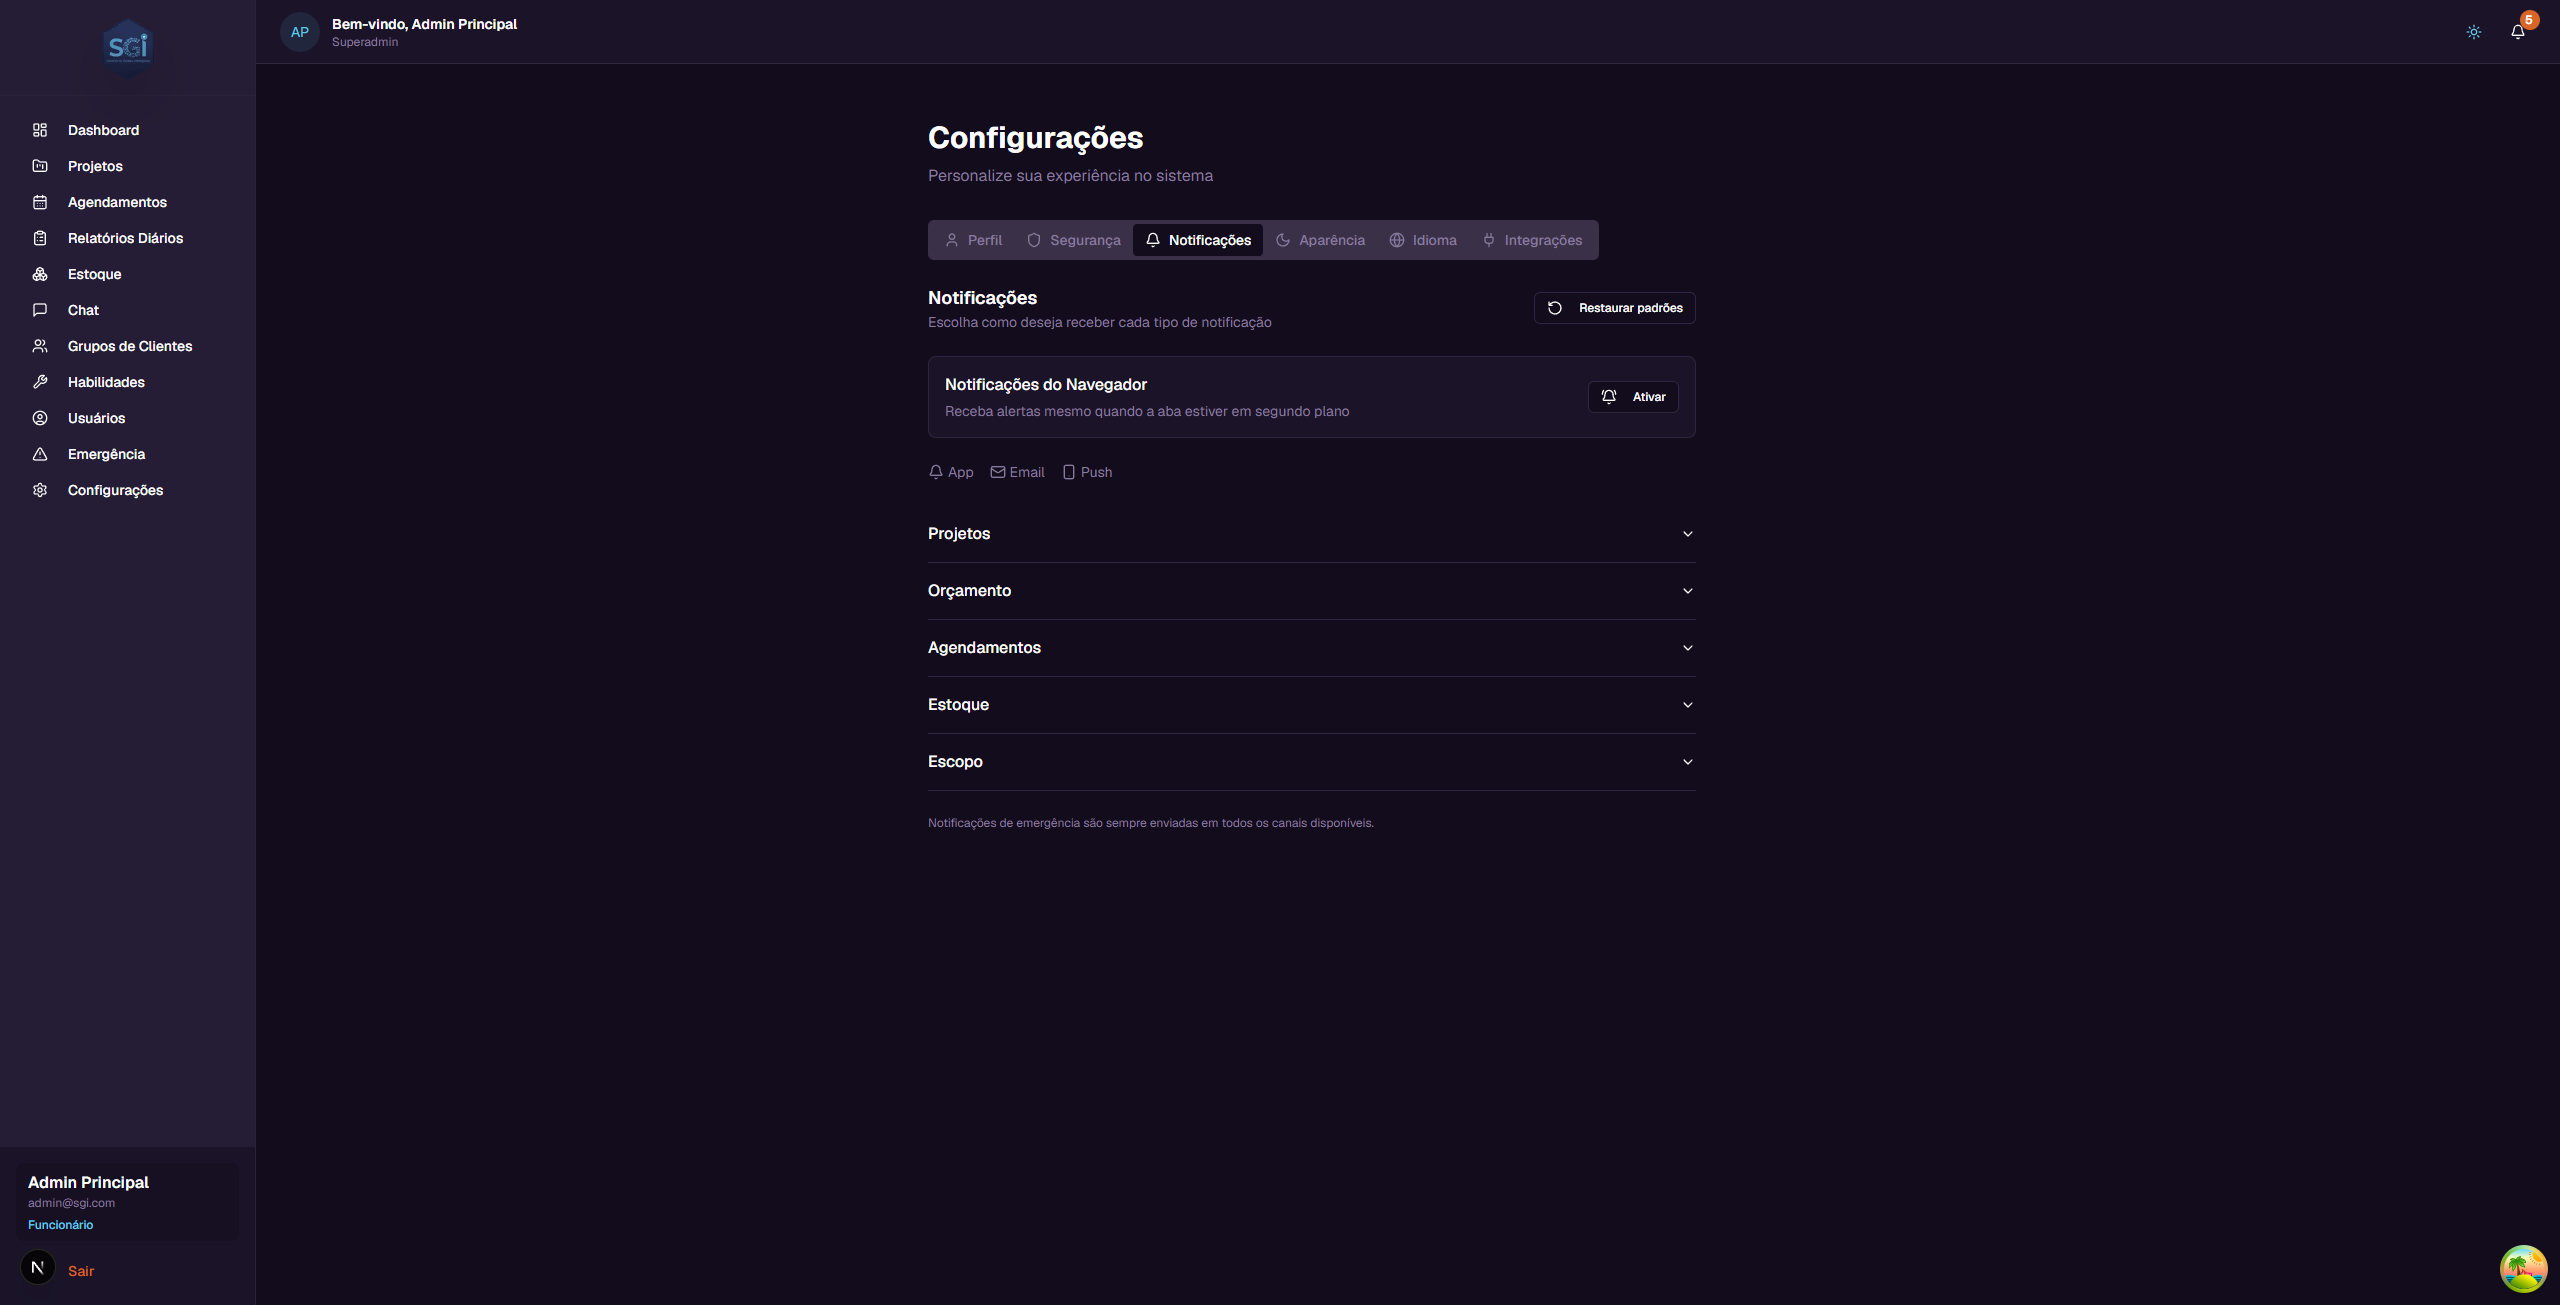
Configure how you receive system alerts.
Browser Permission
Click "Ativar" (Enable) to receive browser push notifications (even with the SGI tab in the background).
Push depends on the browser
Push notifications require browser permission. If you deny, push does not work until you manually reactivate it in the browser settings (lock icon next to the URL).
Available channels
| Channel | What it is | Status |
|---|---|---|
| App (In-App) | Bell in the upper right corner | Active |
| Sent to your registered email | Active | |
| Push | Browser pop-up | Active (requires permission) |
| WhatsApp message | In development |
Notification categories and types
| Category | Types |
|---|---|
| Projects | Assignment, unassignment, status change |
| Budget | Limit alert, budget exceeded |
| Scheduling | Created, updated, cancelled, reminder |
| Inventory | Low stock alert |
| Scope | Scope ready for review |
For each type, you can enable/disable each channel individually.
"Restore defaults" button
Resets all preferences to the original default.
Emergency ignores preferences
Emergency notifications are always sent on all available channels, regardless of your settings. There is no way to disable emergency alerts.
4. Appearance
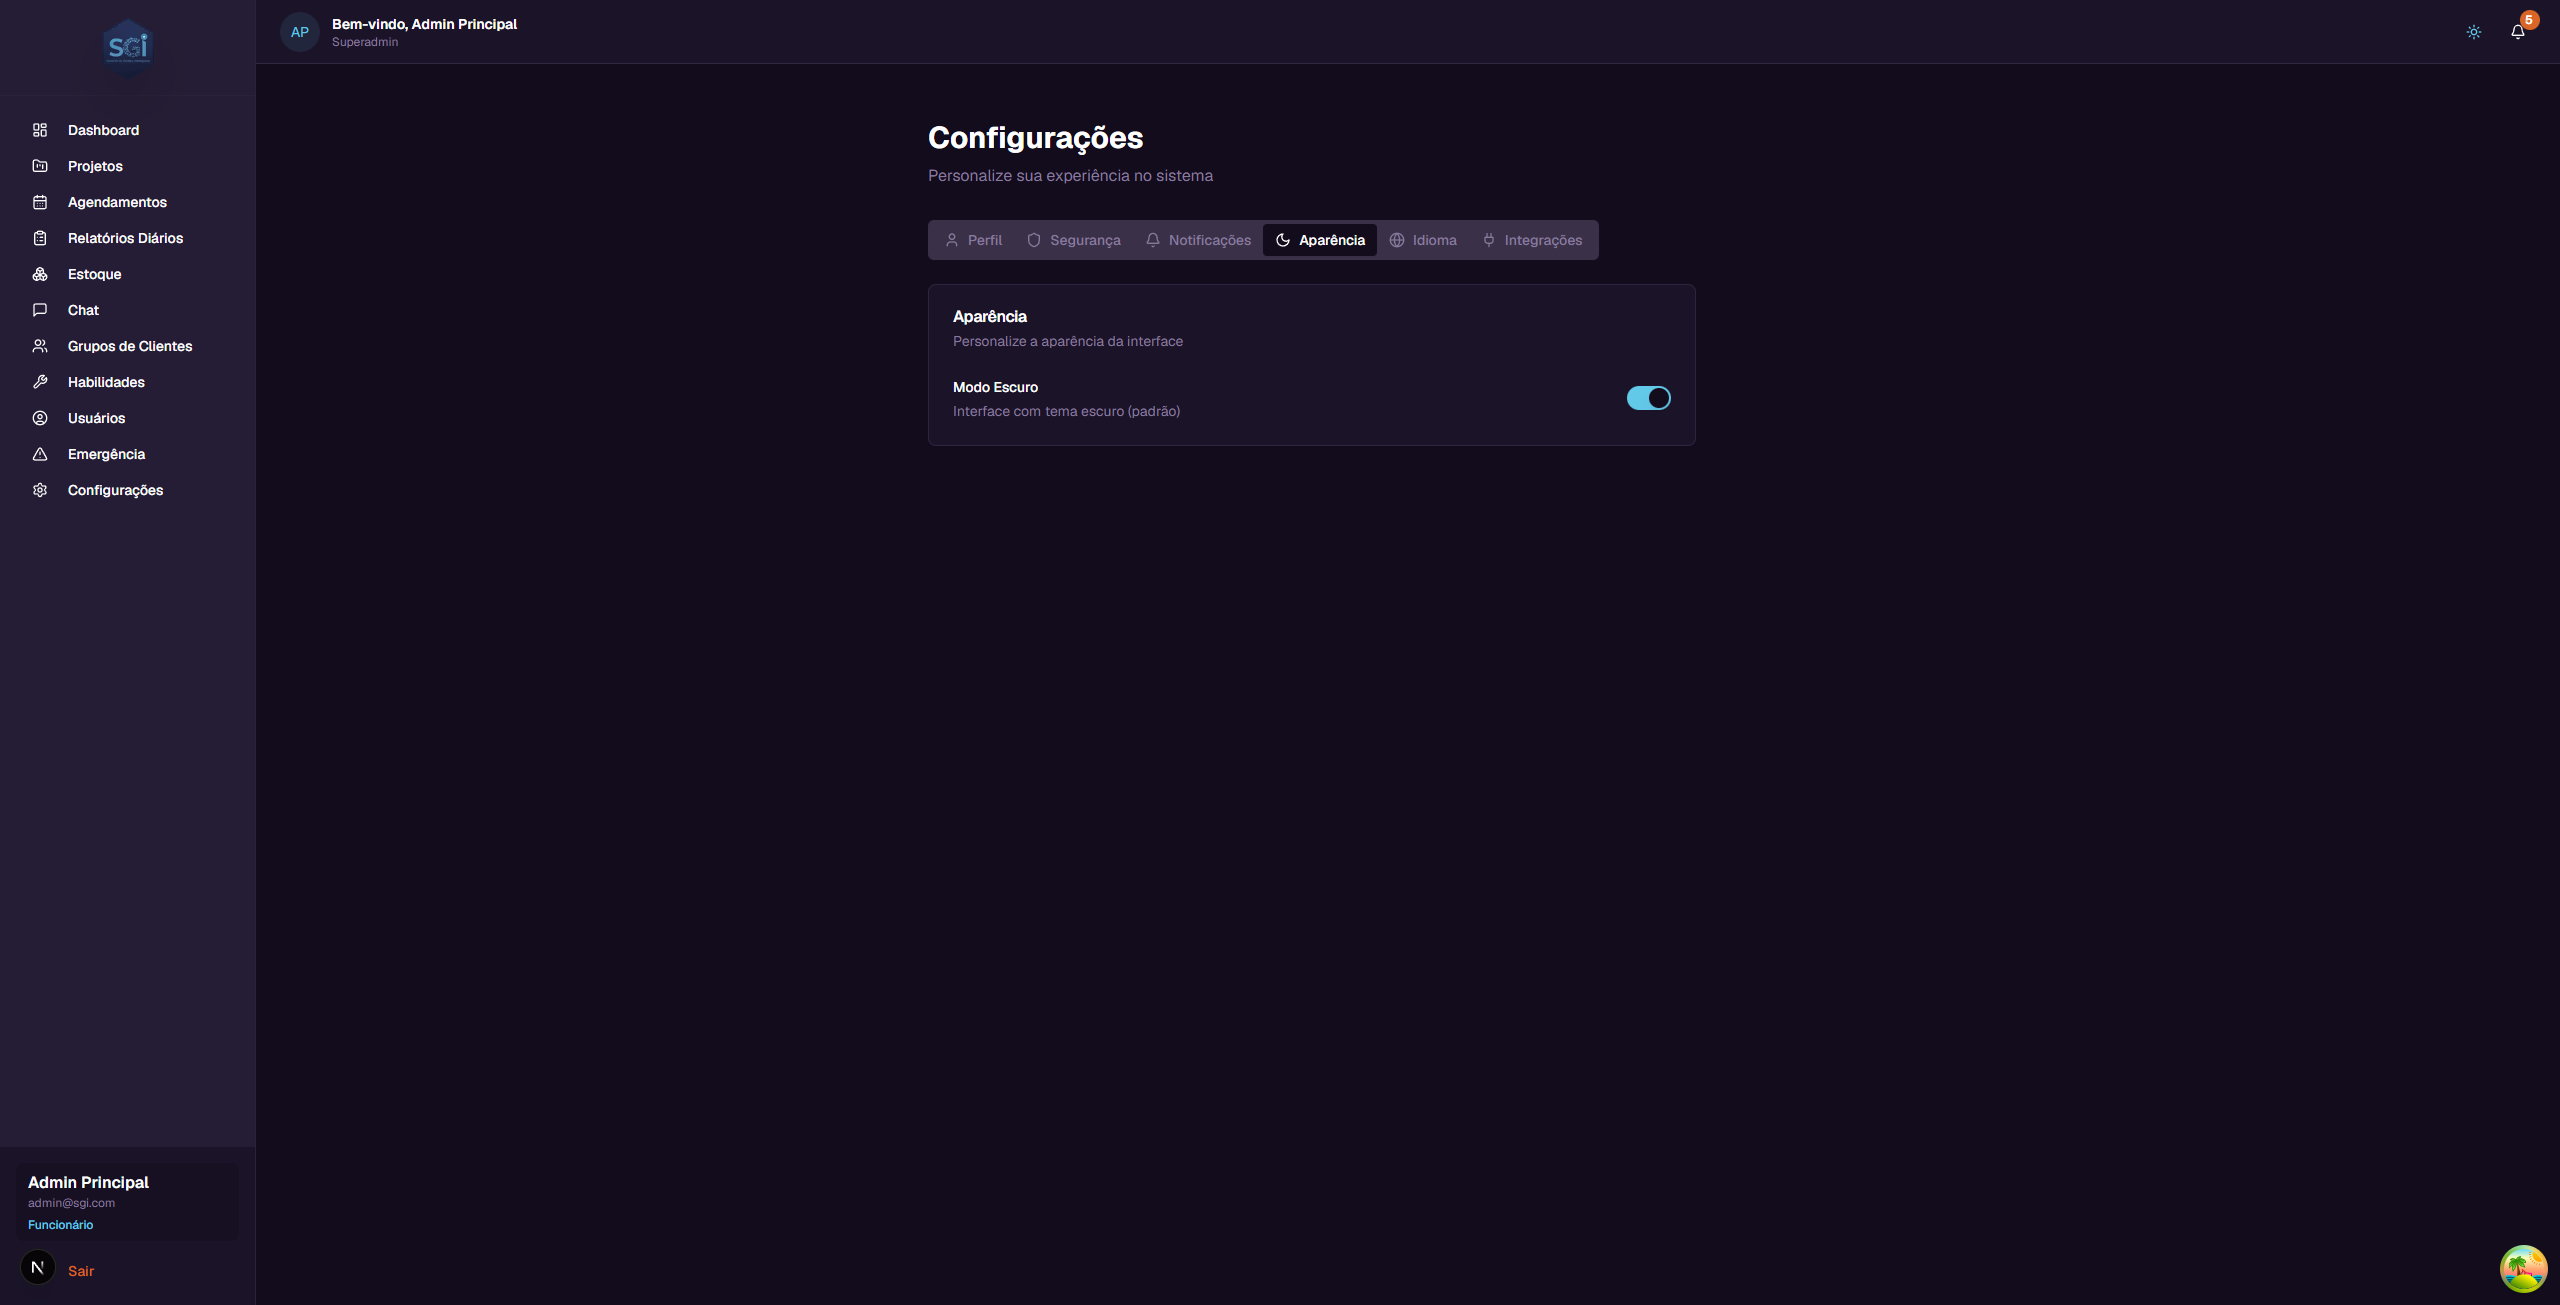
- Dark Mode - Toggle to turn on/off (default: on)
Global shortcut
You can also switch theme by clicking the sun/moon icon in the header (upper right corner), accessible from any page.
The theme is saved per user (each person has their own preference).
5. Language and Region
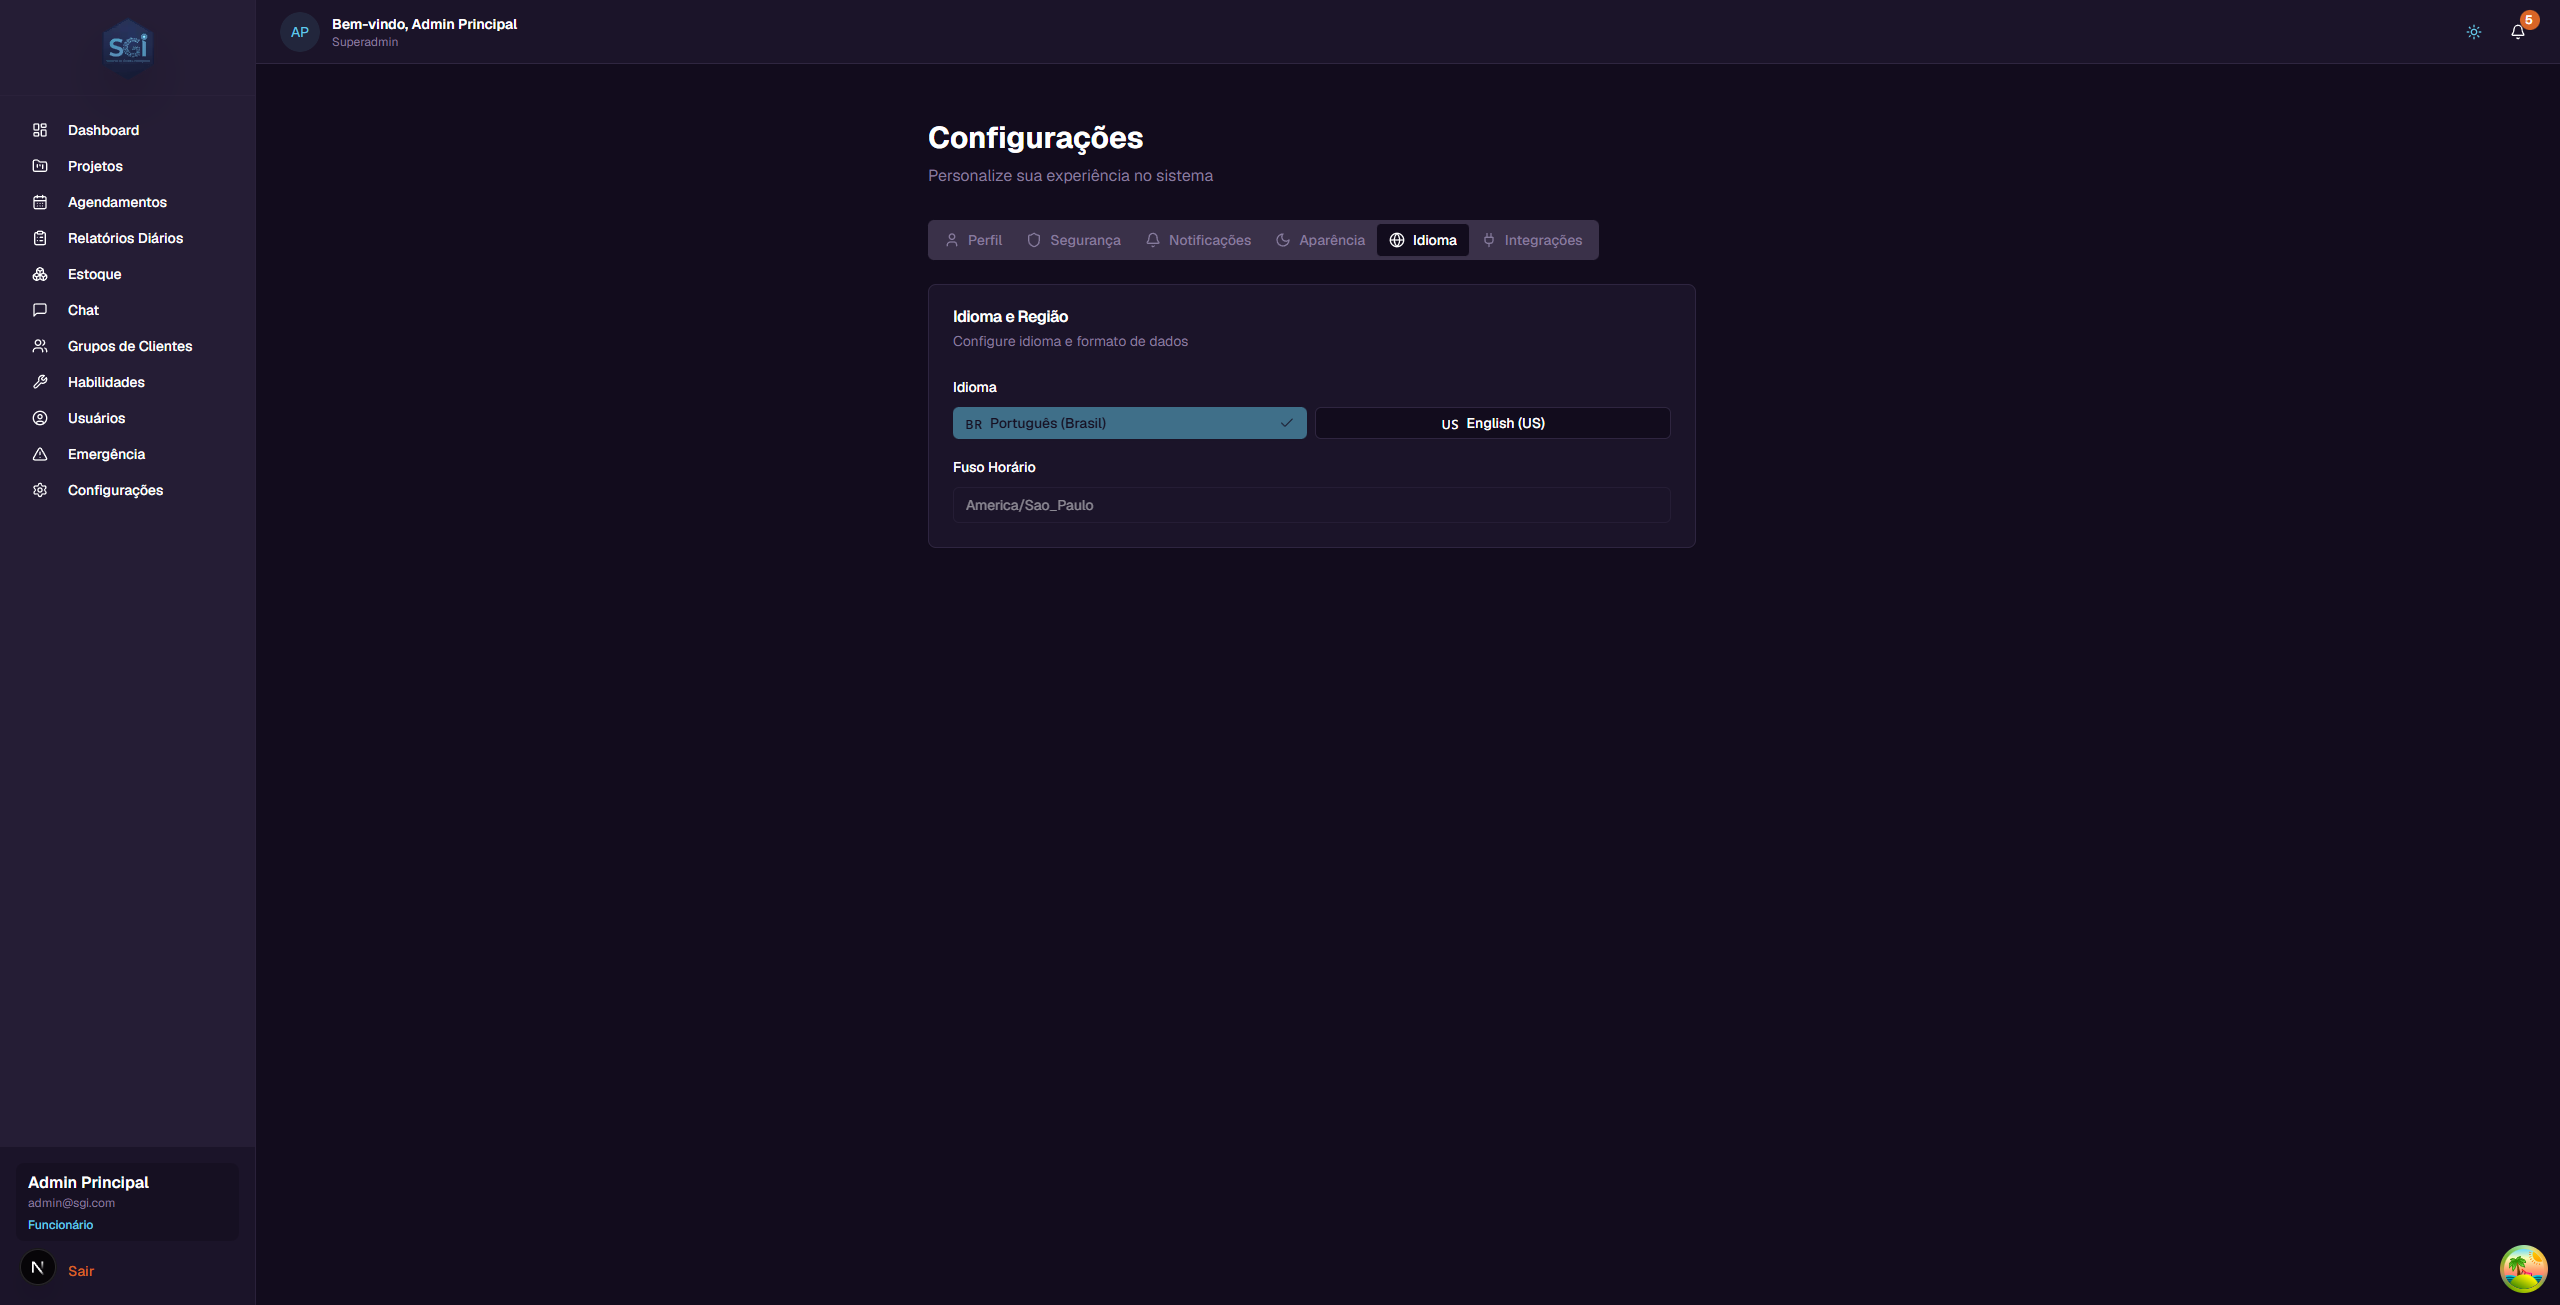
Language
Click one of the buttons to switch immediately:
- Portugues (Brasil) - Interface in Portuguese
- English (US) - Interface in English
Language is per-user
Each person chooses their own language. Defined on first access via invitation, can be changed here at any time.
Timezone
Current default: America/New_York. This field is read-only because it is an per-organization setting.
Timezone per-organization
The timezone is set for the entire organization (not per user). Only super administrators can change it in organization settings.
If your company operates in another timezone (e.g., America/Sao_Paulo), ask the super admin to change it.
6. Integrations (Super Admin only)

Connects the Google account to the organization to enable optional features.
Only Super Admin can connect
The integration is performed by the super administrator on behalf of the organization. Once connected, all employees have their visits synchronized (if they have a calendar created).
What the integration enables
| Feature | What it does |
|---|---|
| Google Calendar | Syncs SGI schedules with Google Calendar. Creates individual calendars per employee (e.g., "SGI - Joao Silva"). Supports two-way sync. |
| Google Drive | Automatic project backup to the organization's Drive. Creates a folder per project. |
Integration status
| Status | Meaning |
|---|---|
| "Nao conectado" (Not connected) | Google account not linked |
| "Conectado" (Connected) | Google account active and syncing |
Connect
- Click "Conectar Google" (Connect Google)
- Choose the organization's Google account
- Authorize the requested permissions
- Status changes to "Conectado" (Connected)
Disconnect
- Click "Desconectar" (Disconnect)
- Confirm in the window
- Synchronization stops immediately (already synced data is retained)
Integration is optional
SGI works perfectly without Google. The integration is only for additional convenience (external calendar + backup).
Important Rules
Field limits
| Field | Min | Max | Note |
|---|---|---|---|
| Name (display name) | 3 | - | - |
| Password | 6 | - | No complexity required |
| Profile picture | - | 5 MB | PNG, JPG, JPEG |
Required permissions
| Operation | Super Admin | Admin | Employee |
|---|---|---|---|
| Edit own profile | Yes | Yes | Yes |
| Change own password | Yes | Yes | Yes |
| Configure own notifications | Yes | Yes | Yes |
| See Integrations tab | Yes | No | No |
| Connect/disconnect Google | Yes | No | No |
| Change organization timezone | Yes | No | No |
System defaults
| Setting | Value |
|---|---|
| Theme | Dark (dark mode) |
| Initial language | Defined in invitation |
| Timezone | America/New_York |
| Auto-save | Yes (toggles save immediately) |
Quick summary
| You want to... | Go to... |
|---|---|
| Change profile picture | Profile > Upload Photo |
| Change name | Profile > "Editar" (Edit) |
| Change password | Security > "Alterar Senha" (Change Password) |
| Configure notifications | Notifications |
| Switch light/dark theme | Appearance OR sun/moon icon in the header |
| Switch language | Language |
| Connect Google Drive/Calendar | Integrations (super admin) |