Scheduling - User Guide
This guide explains everything about the Scheduling module in SGI, used to schedule visits and employee appointments on projects.
1. Accessing the Scheduling screen
On the left sidebar menu, click "Agendamentos" (Scheduling). You will see the main management page.
2. View modes
There are 2 modes, with a toggle in the upper right corner. The preference is saved per user (persisted between sessions).
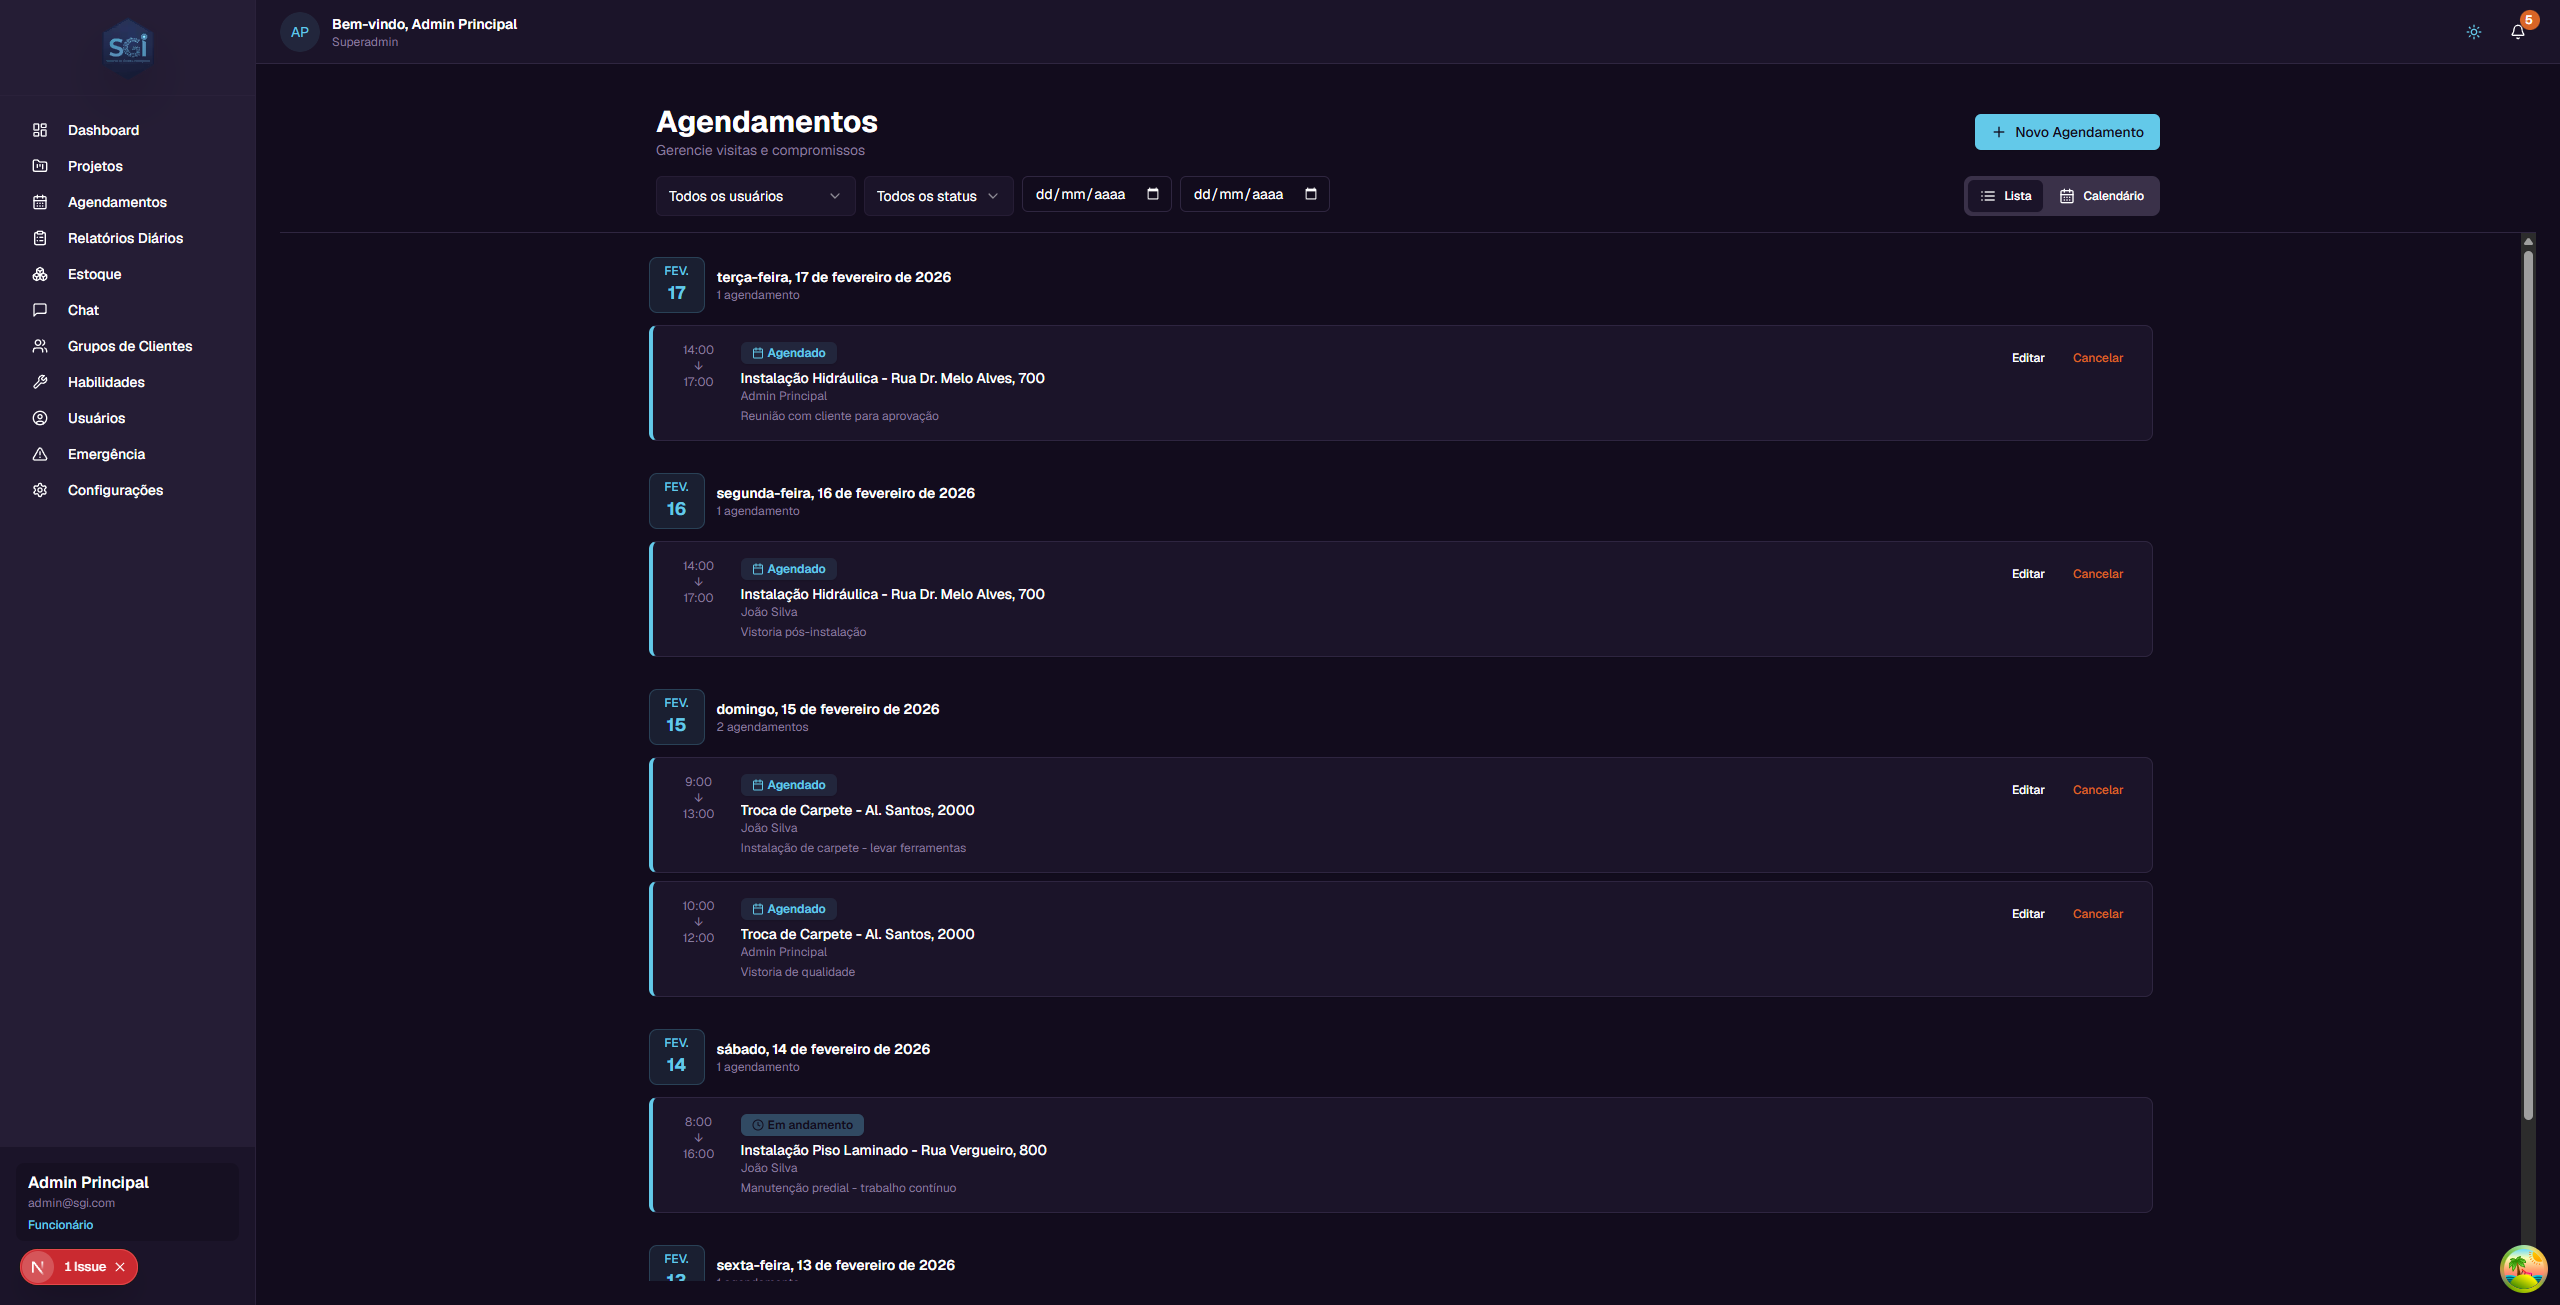
List (default)
Schedules grouped by date, from most recent to oldest. Each card shows:
- Time - Start and end time (e.g., 14:00 -> 17:00)
- Status - Colored badge (Scheduled, In progress, Completed, Cancelled)
- Project - Name of the linked project
- Employee - Who is assigned
- Notes - Additional notes about the visit
- Buttons - Edit and Cancel
Calendar
Weekly grid (Monday to Sunday), slots from 08:00 to 18:00. Color-coded blocks by status.
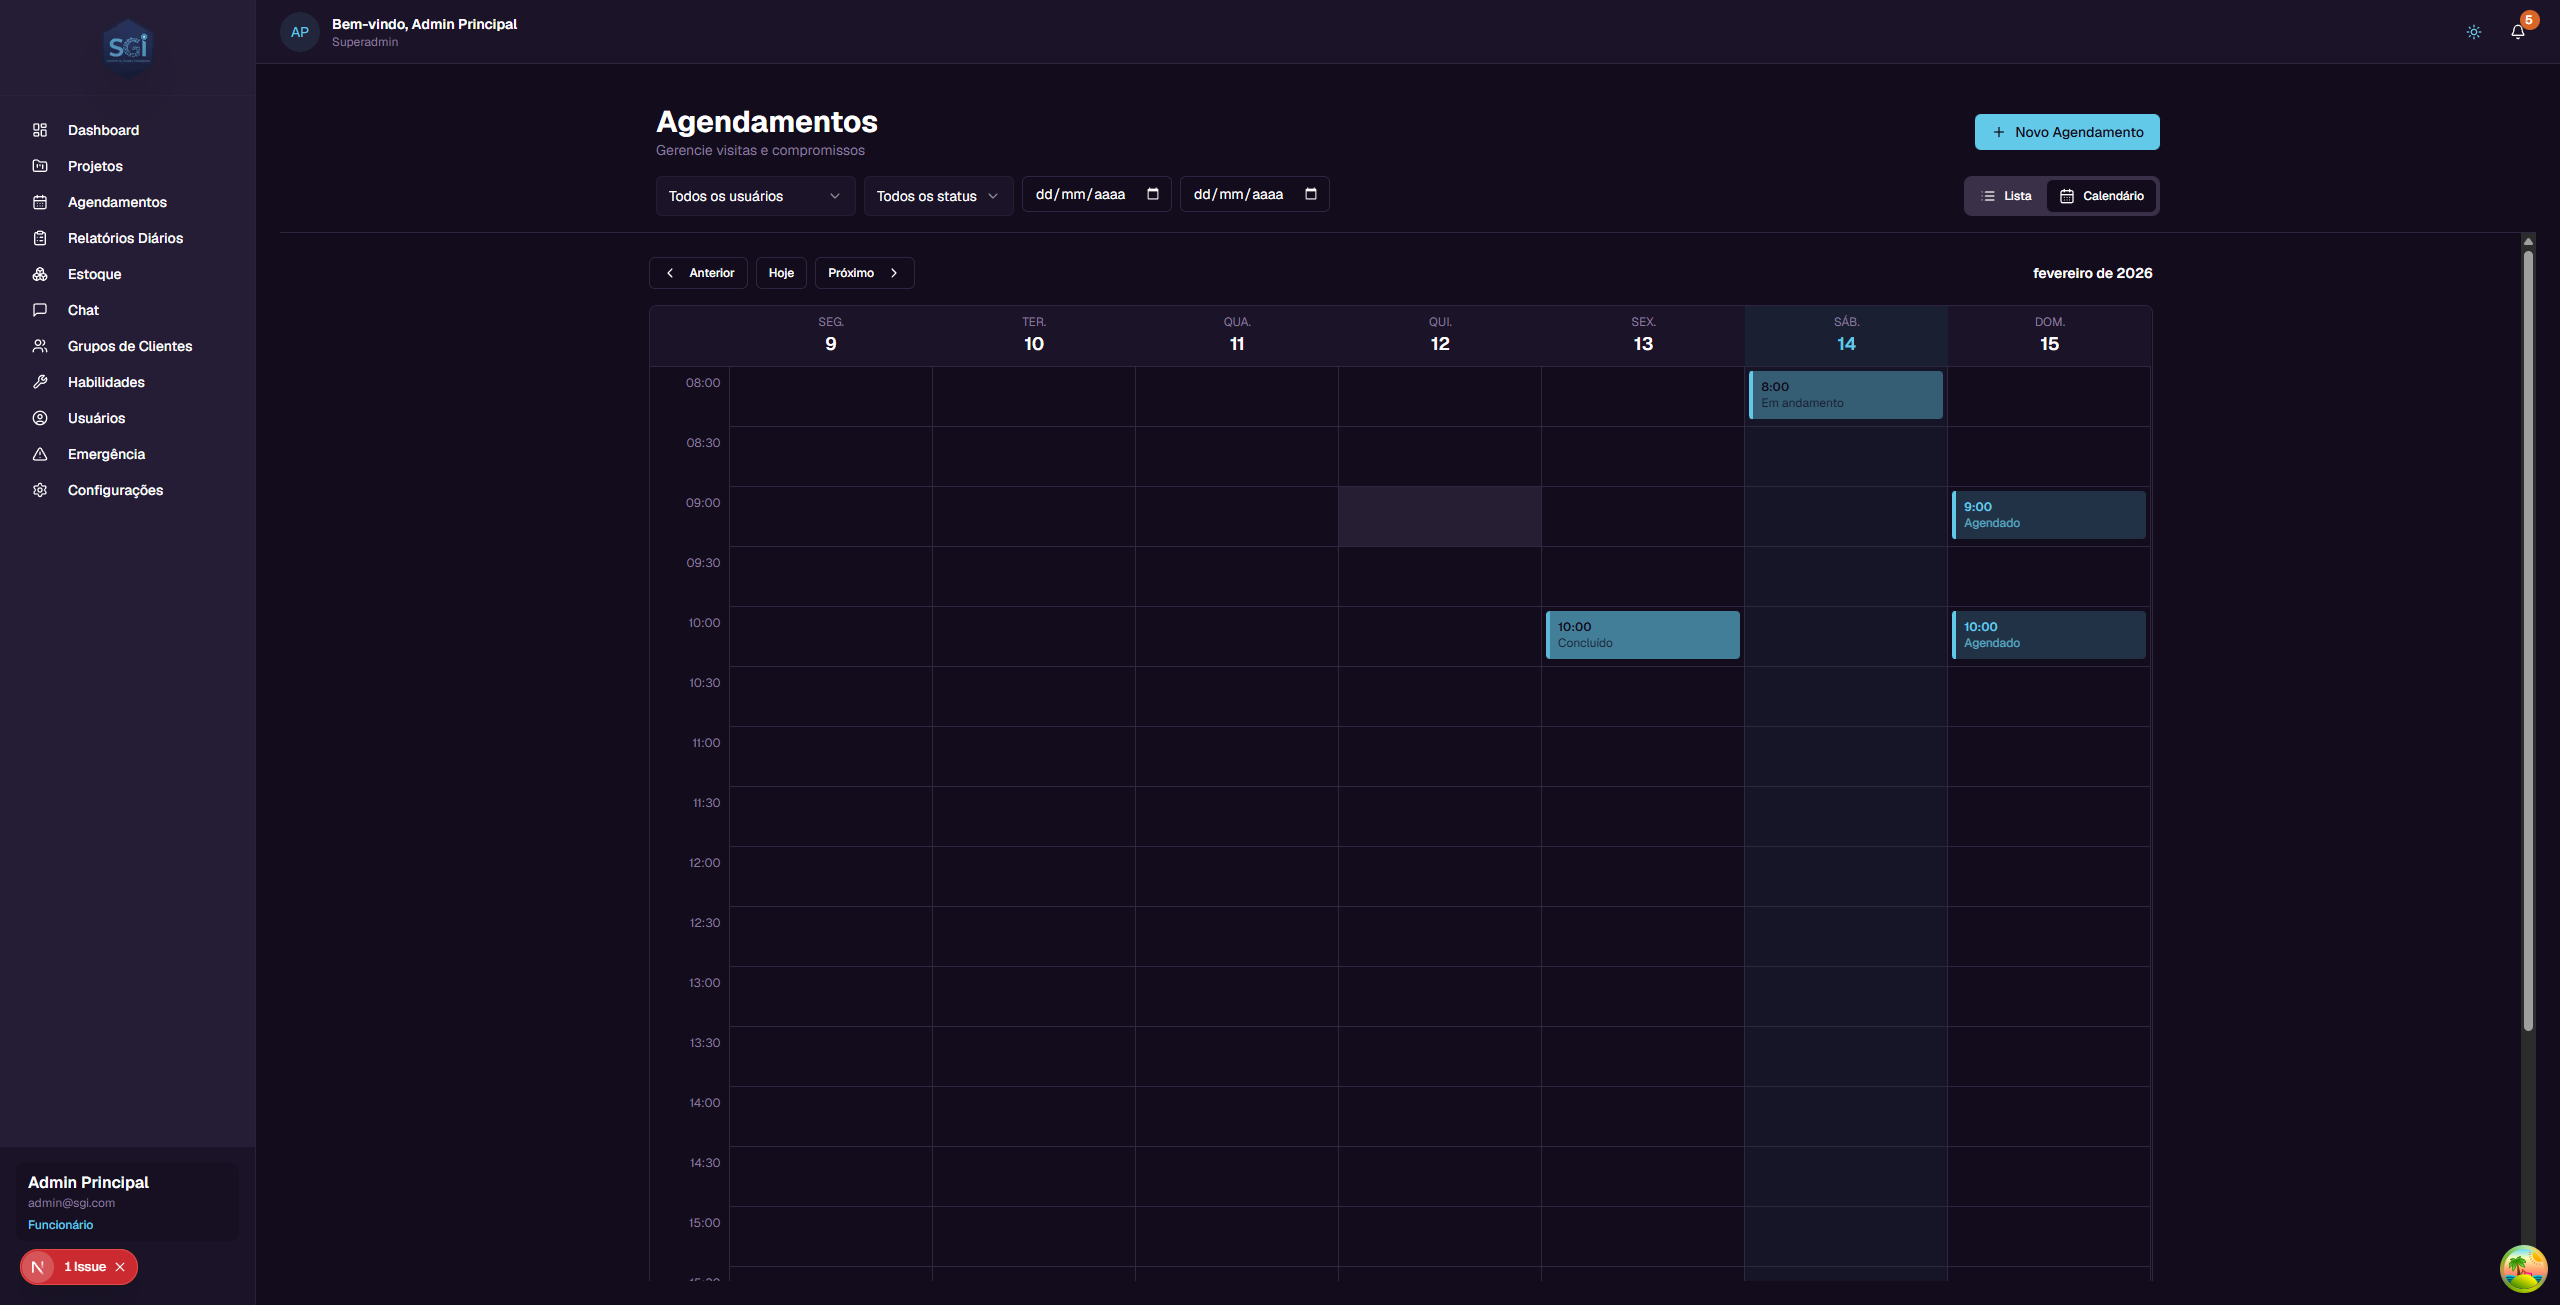
Use "Anterior" (Previous), "Hoje" (Today), and "Proximo" (Next) to navigate between weeks.
3. Creating a schedule
Click "Novo Agendamento" (New Schedule) in the upper right corner (desktop) or the floating "+" button (mobile).

| Field | Required? | Description |
|---|---|---|
| Project | Yes | Project linked to the visit |
| Employee | Yes | Who will perform the visit |
| Date | Yes | Date of the visit |
| Start time | Yes | Time it begins |
| Duration | Yes | 1h, 2h, 3h, 4h, or custom (minimum 1 minute) |
| Notes | No | Additional notes |
Step-by-step example
- Click "Novo Agendamento"
- In Project, select:
Plumbing Installation - 700 Dr. Melo Alves Street - In Employee, select:
Joao Silva - In Date, select the desired date
- In Start time, type:
09:00 - In Duration, select:
2 hours - In Notes, type:
Bring tools for inspection - Click "Criar Agendamento" (Create Schedule)
4. Editing and cancelling
Edit
In the list, click "Editar" (Edit) on the card. You can change:
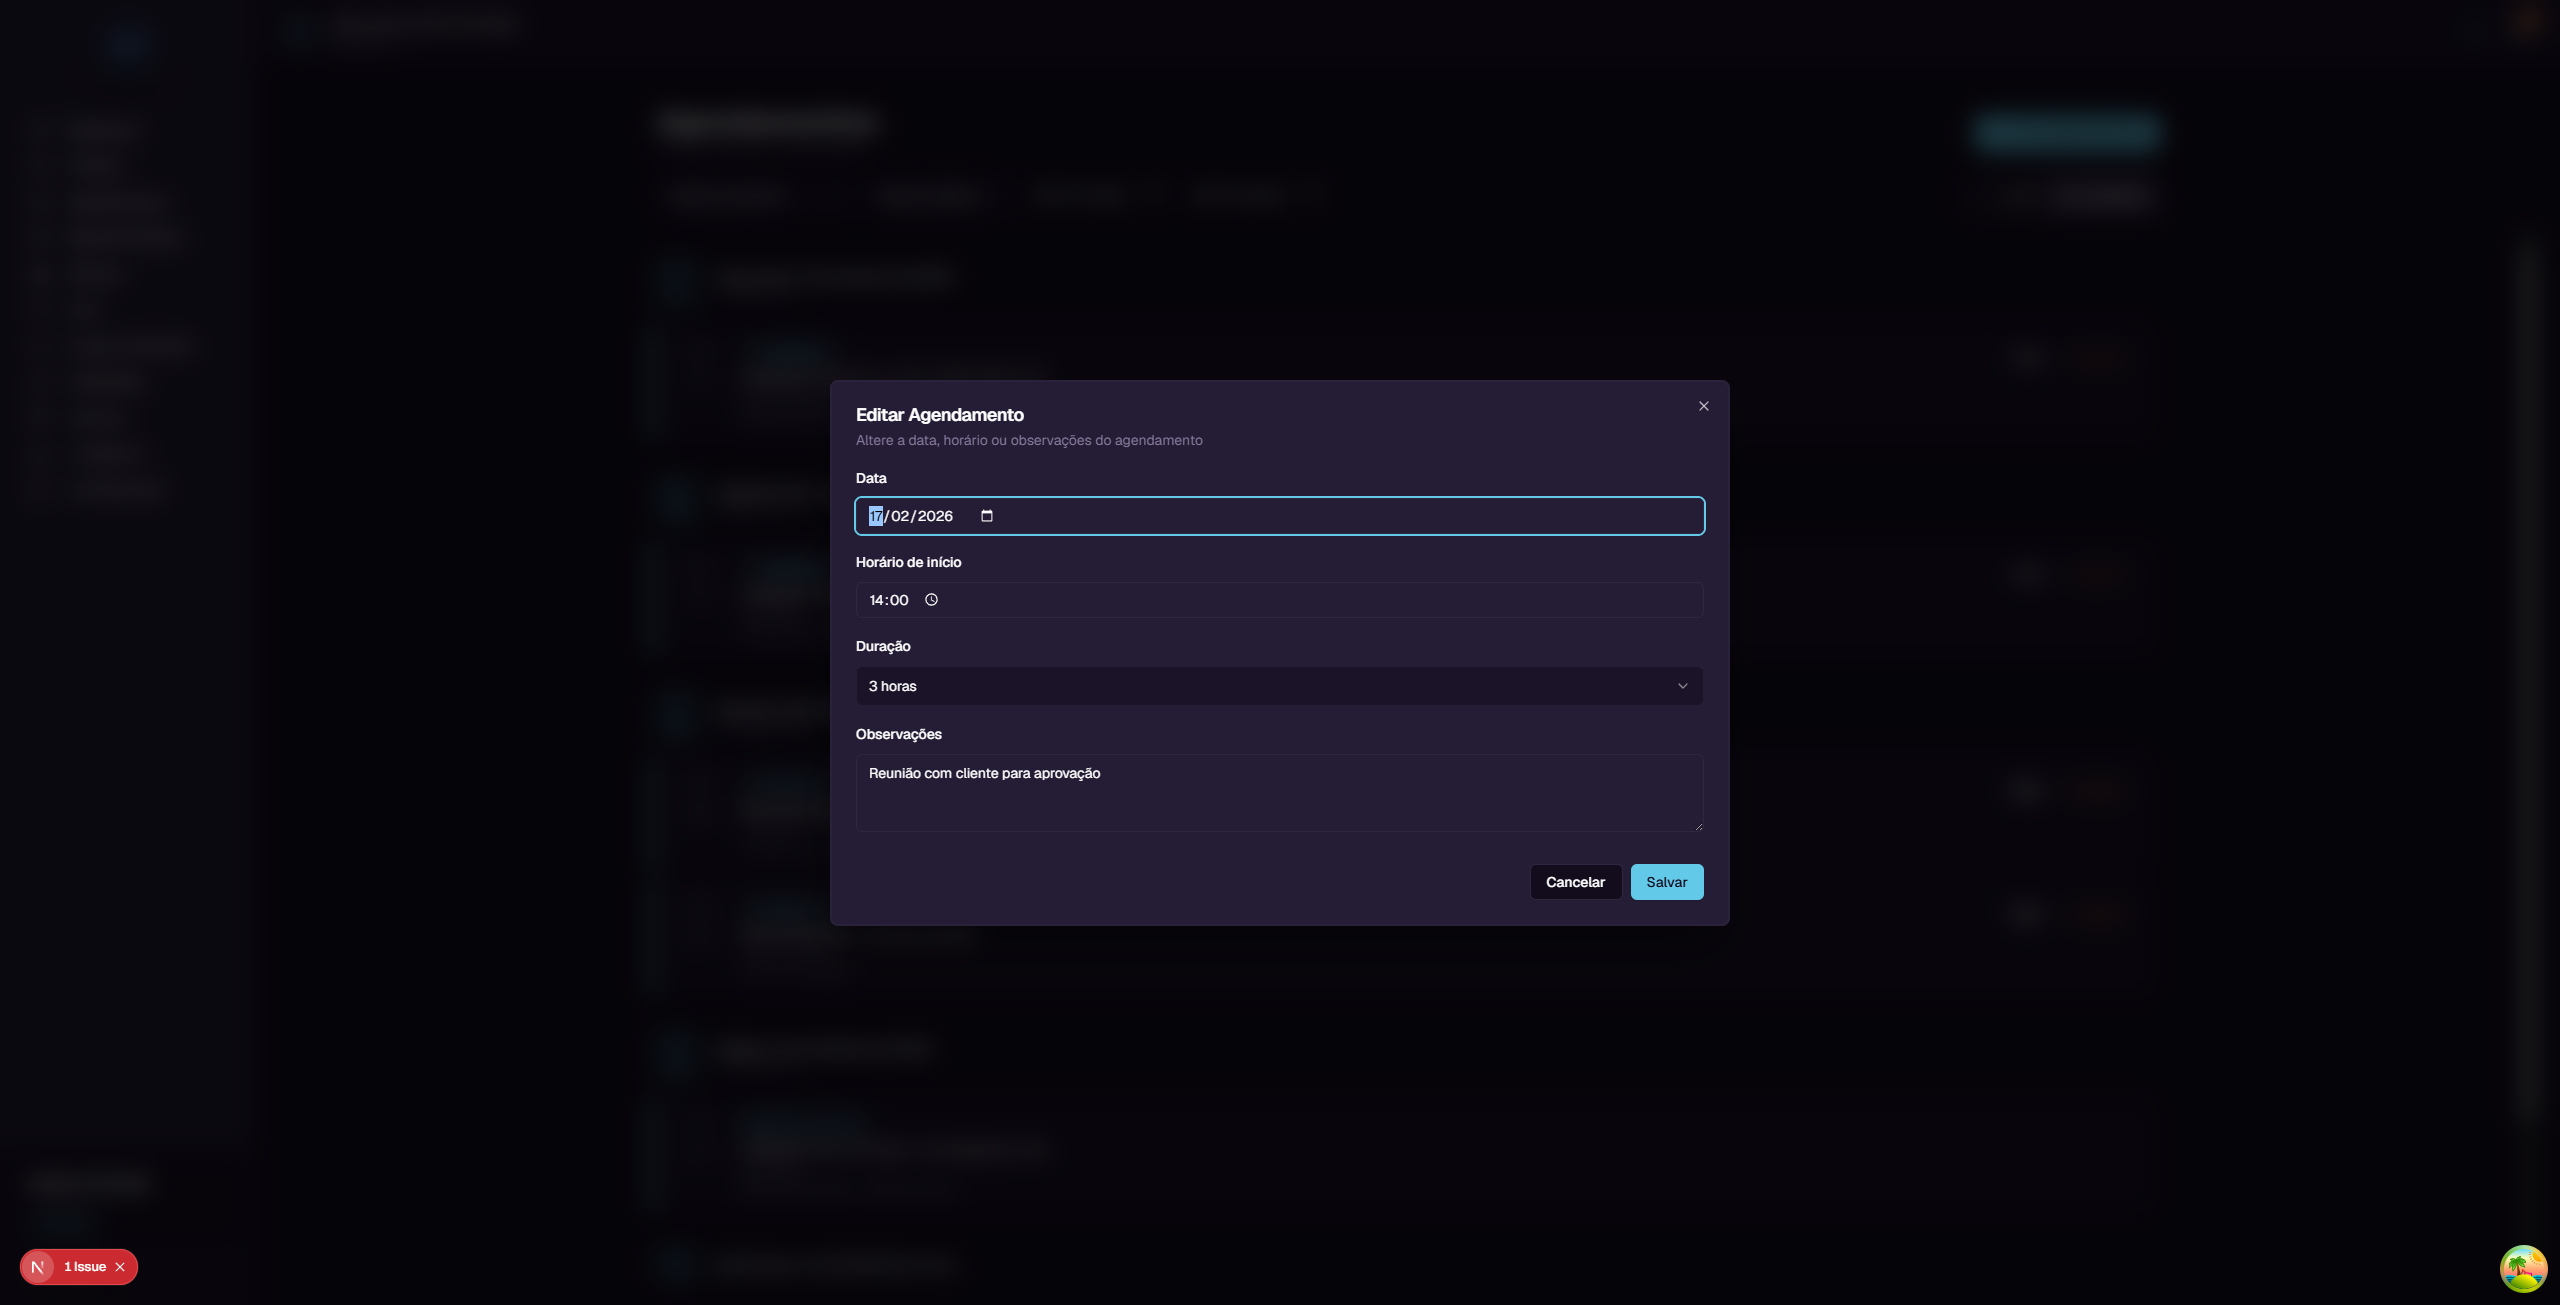
- Date - Change the day
- Start time - Change the time
- Duration - Change the duration
- Notes - Edit the notes
Cancel
Click "Cancelar" (Cancel) on the card. The status changes to Cancelled (the schedule is not deleted, it remains on record).
5. Filters
At the top of the page:
| Filter | What it does |
|---|---|
| Users | Filter by employee (admin); employees see only their own |
| Status | scheduled / in progress / completed / cancelled |
| Date | Range (start and end date) |
6. Schedule statuses
| Status | Meaning | Color |
|---|---|---|
Scheduled (scheduled) |
Visit scheduled for the future | Blue |
In progress (in_progress) |
Visit happening now | Green |
Completed (completed) |
Visit performed | Gray |
Cancelled (cancelled) |
Visit cancelled | Red |
stateDiagram-v2
    direction LR
    [*] --> scheduled: Create
    scheduled --> in_progress: Employee arrives
    scheduled --> cancelled: Cancel
    in_progress --> completed: Finish visit
    in_progress --> cancelled: Cancel
    completed --> [*]
    cancelled --> [*]
7. Google Calendar integration
When the organization's Google account is connected (via Settings > Integrations, only super admin can connect), schedules sync automatically.
How it works
- The system creates individual calendars per employee (e.g.,
SGI - Joao Silva) - Create/edit/cancel in SGI appears automatically in Google Calendar
- Two-way sync: events created directly in Google Calendar also appear in SGI (with
isExternalEventflag)
Sync status
Each schedule has a googleSyncStatus field visible in the detail view:
| Status | Meaning |
|---|---|
pending |
Waiting for next sync |
syncing |
Synchronization in progress |
synced |
Successfully synchronized |
failed |
Sync error (message in googleSyncError) |
Without Google connected
Google Calendar is optional
The integration is not mandatory. If the Google account is not connected, the schedule is created normally in SGI - it just does not sync with Google. Everything works, there is just no external calendar.
flowchart LR
    A[Create schedule in SGI] --> B{Google<br/>connected?}
    B -->|Yes| C[Saves in SGI]
    C --> D[Creates event in employee's Google Calendar]
    D --> E[googleSyncStatus: synced]
    B -->|No| F[Saves only in SGI]
    F --> G[googleSyncStatus: pending]

    H[Event created directly in Google] --> I[SGI detects via polling]
    I --> J[Creates schedule in SGI]
    J --> K[isExternalEvent: true]
8. Smart employee suggestion
When creating a schedule via the AI Chat, the AI automatically suggests the best employee based on:
- Skills - Employees with the right competency for the job
- Availability - Avoids schedule conflicts
- Workload - Prefers those with fewer schedules in the period
The suggestion is a recommendation
The AI suggests, but you decide. You can accept, choose another employee, or ask the AI to show other options.
Important Rules
Required fields and limits
| Field | Required | Minimum | Maximum | Note |
|---|---|---|---|---|
projectId |
Yes | - | - | Must exist in the system |
employeeId |
Yes | - | - | User must be active |
startTime |
Yes | - | - | ISO 8601 (past date is allowed) |
durationMinutes |
Yes | 1 min | - | No explicit maximum limit |
notes |
No | - | - | Free text |
Required permissions
| Operation | Super Admin | Admin | Employee with canCreateSchedules |
Standard Employee |
|---|---|---|---|---|
| See own schedules | Yes | Yes | Yes | Yes |
| See everyone's schedules | Yes | Yes | No | No |
| Create schedule | Yes | Yes | Yes | No |
| Edit schedule | Yes | Yes | Yes (own only) | No |
| Cancel schedule | Yes | Yes | Yes (own only) | No |
Validations that block
Time conflict
The system automatically validates whether the employee already has a schedule in the same slot and returns an error:
Employee not available at this time
To resolve: choose another time or another employee.
Past dates are allowed
The system allows creating schedules on past dates (useful for recording visits that have already happened). Pay attention when confirming the date.
System defaults
| Setting | Default value | Where to change |
|---|---|---|
| Default duration | 2 hours | At creation |
| Calendar slot | 08:00-18:00 | System (not configurable) |
| Initial status | scheduled |
Automatic |
| Google Calendar sync | Optional | Super admin in Integrations |
Quick summary
| You want to... | Do this... |
|---|---|
| See all schedules | Click "Agendamentos" in the menu |
| View as calendar | Click the "Calendario" (Calendar) button |
| Create schedule | Click "Novo Agendamento" |
| Create via Chat | "Schedule visit for project X tomorrow 9am" |
| Edit schedule | "Editar" button on the card |
| Cancel schedule | "Cancelar" button on the card |
| Filter by employee | "Todos os usuarios" (All users) dropdown |
| See Google integration | Settings > Integrations (super admin) |